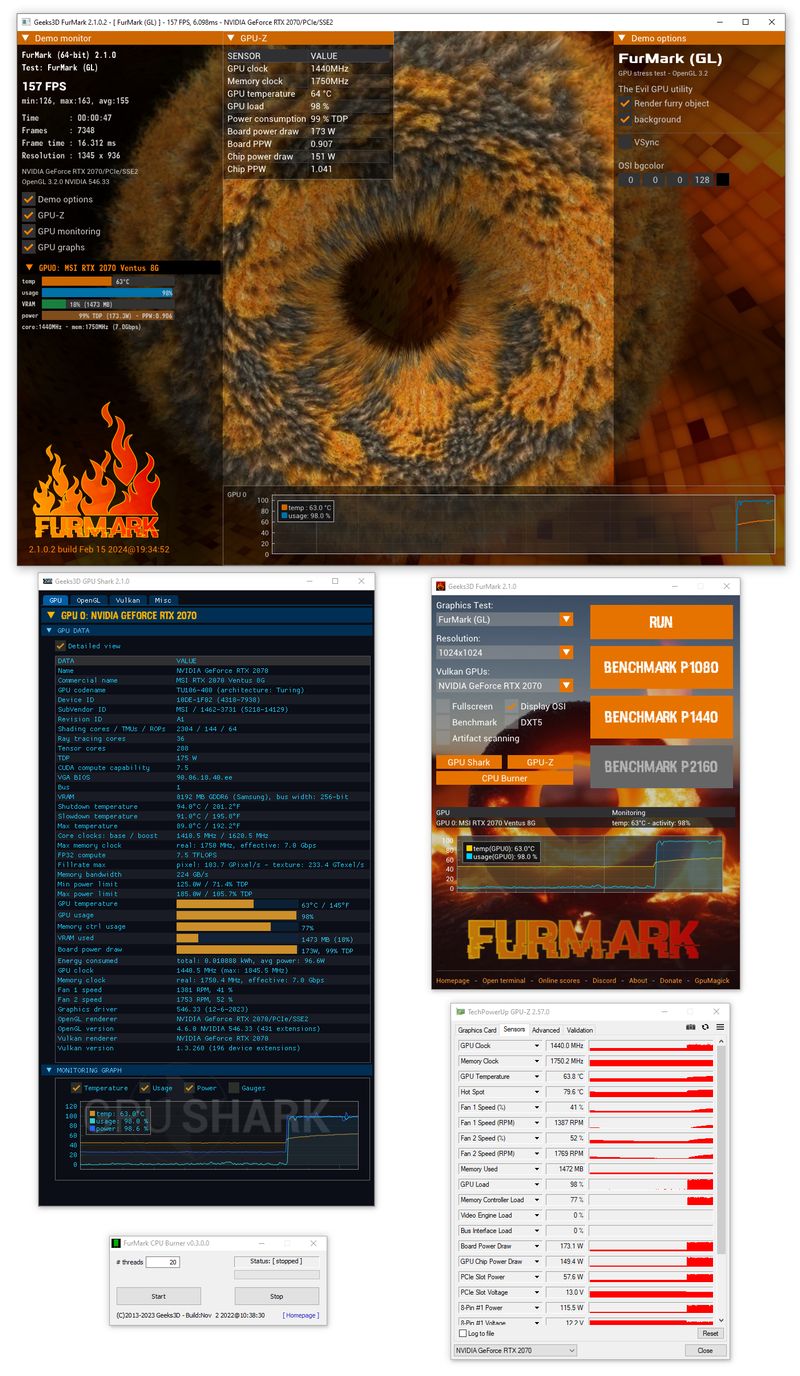
sustained GPU load helps expose thermal limits and stability issues in a controlled way.
it can reveal throttling patterns, borderline tuning, or cooling problems that might only appear after minutes under load.
Overclockers, builders validating airflow, and anyone diagnosing crashes under heavy GPU demand.
After repasting, run a supervised stress test to compare heat-up rate and stabilization against the previous baseline.
Need a safe workflow? Follow best practices and
temperature guidance.
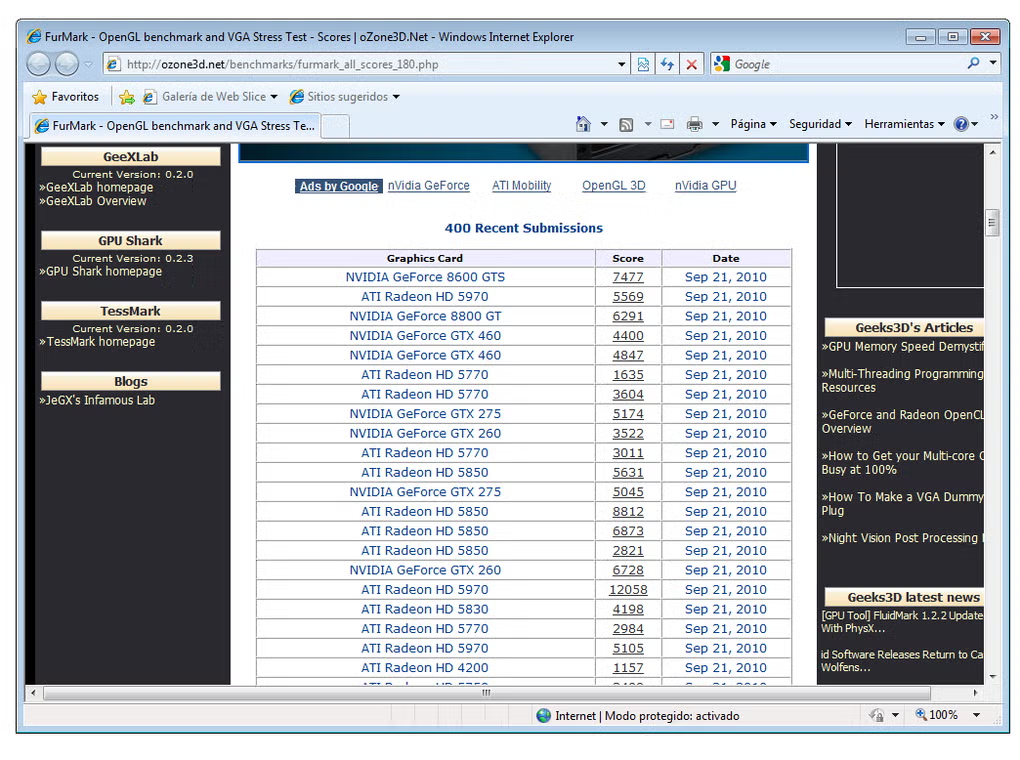
timed runs help you compare settings and changes with a consistent method.
benchmarks are only meaningful when you keep the inputs stableAPI mode, resolution, AA, and similar ambient temperatures.
Reviewers, tuners, and users comparing pre/post driver changes or fan curves.
Compare a stock profile vs an undervolt while keeping the same resolution/AA to understand performance and thermals.
If your score is lower than expected, use the benchmark troubleshooting steps.
validating different graphics APIs can be useful for driver troubleshooting or compatibility checks.
some systems behave differently across APIs; testing both can help isolate driver issues, instability, or performance differences.
Users diagnosing launch issues, reviewers, and anyone validating a new driver version.
Tip: when comparing results across OpenGL and Vulkan, keep everything else identical. Treat API mode as a single variablenot a shortcut to “higher numbers.”
you can scale test intensity in a controlled way.
aggressive settings can spike thermals quickly; stepping up gradually helps you find stable limits without unnecessary risk.
Beginners learning safe stress testing, and advanced users tuning for repeatable comparisons.
Start at 1080p with moderate AA for 3–5 minutes, then increase settings if temperatures are stable.
For safe durations and stop conditions, see FAQ: why FurMark gets hot.
see how cooling behaves under a consistent, heavy load.
effective cooling shows a predictable heat-up curve and stabilization rather than runaway increases.
PC builders, users after repaste, and anyone validating airflow or fan curves.
Compare two fan curves for noise vs temperature trade-offs using the same test settings and ambient temperature.
If temperatures rise too quickly, follow this step-by-step guide.
make informed decisions during a high-load test.
sensors help you distinguish “normal heat-up” from runaway thermals, and identify throttling or instability signals.
Everyoneespecially newer users who should keep tests short and supervised.
If clocks suddenly drop while temperature is high, you may be seeing thermal or power limit behavior.
For “what to monitor” and stop conditions, use the monitoring checklist.
heavy load can reveal visual artifacts or instability symptoms sooner.
artifacts (sparkles, blocks, flicker) can indicate unstable clocks, overheating, or driver problems.
Overclockers and troubleshooters diagnosing black screens or driver resets under load.
Artifacts appear only after 2–3 minutes: reduce settings, improve cooling, and retest to isolate the cause.
If artifacts appear, follow the step-by-step artifact guide.
repeatable setups are easier to compare across changes.
when you keep settings consistent across runs, you can better judge whether a driver update or cooling change improved outcomes.
Depending on build/distribution, some users run FurMark with repeatable presets or shortcuts to keep variables stable. This page does not assume
a specific command-line interface; it focuses on the principle: keep runs comparable, document settings, and monitor safety signals.
For a repeatable workflow template, use the repeatable test checklist.